The microphone is an important equipment when working with a remote desktop. It allows the user to send voice commands, record audio, and use applications that require a microphone. If the user works on a remote team or participates in a video conference, the microphone allows the user to communicate in real-time with other participants. This is especially useful when you need to hold a meeting or discuss project details. The microphone allows you to record audio, which can be useful in various situations, such as creating sound files or recording voice memos. Some applications, such as voice recognition software or voice recording applications, require a microphone. Remote desktop users can use these applications if they can access a microphone.
In this article, we want to show you how to enable the microphone on a remote desktop using Windows Server 2022.
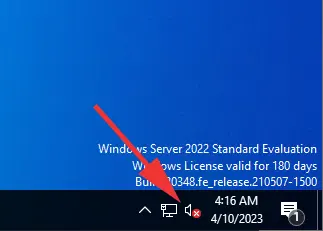
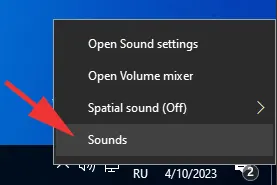
First, you need to connect to the remote desktop from which we will be transmitting audio. Immediately after connecting, we can see that the sound options icon appears with a red cross, which means that the sound service is disabled.
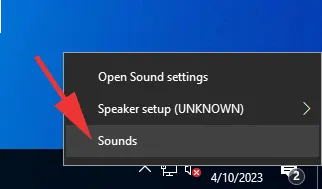
Right-click on the sound icon and click on the Sounds menu.
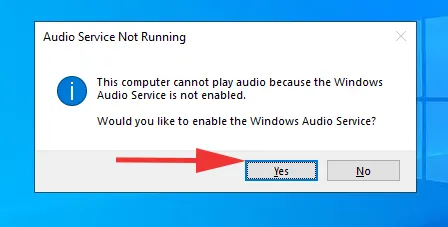
In case you don't already have audio support enabled on your system, you will be prompted to enable it to work with audio. Click "Yes".
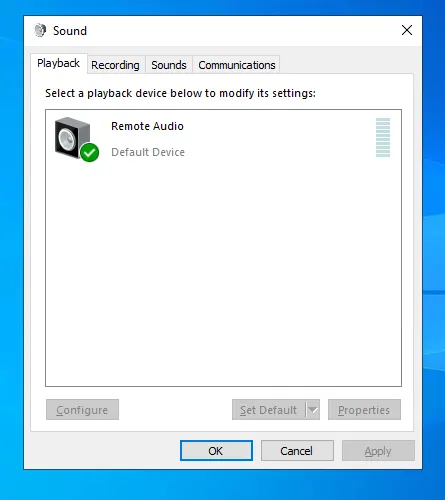
After the audio service is turned on, you will see a window with the audio settings.
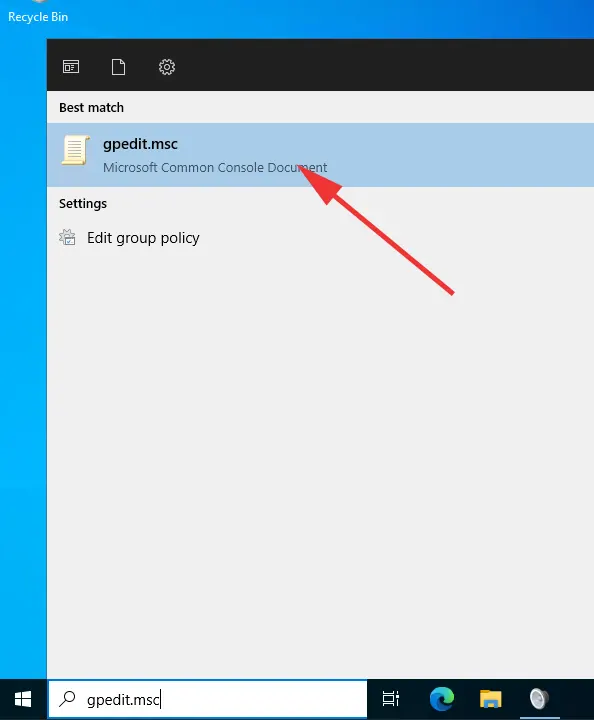
Now we need to configure the security policy of the Windows Server system and allow audio recording over the network. To do this, use the quick search box in the lower left corner or open Start and start typing "gpedit.msc"
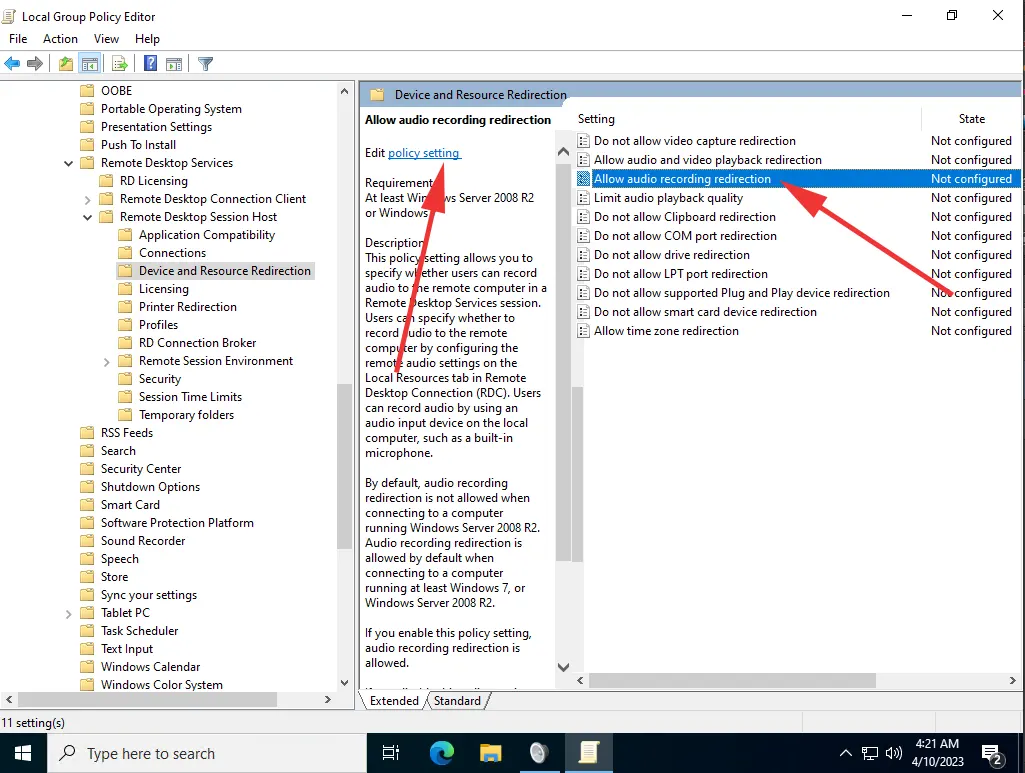
In the new security policy settings window, on the left side of the navigation, go to the next category and find "Allow audio recording redirection":
Local Computer Policy -> Computer Configuration -> Administrative templates -> Windows Components -> Remote Desktop Services -> Remote Desktop Session Host -> Devise and Resource Redirection
Select Allow audio recording redirection and click "Edit policy setting" or double click on the setting itself to open the security settings.
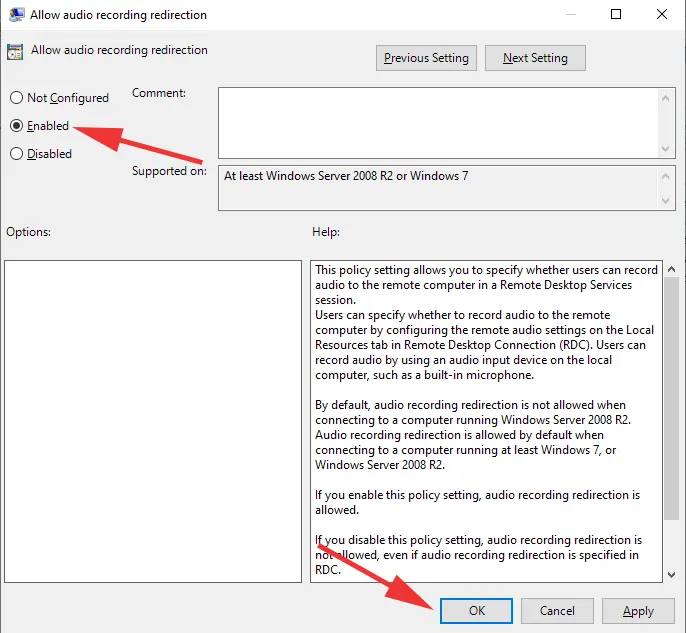
Enable access to the recording transmission by switching the parameter to "Enabled" and close the window by clicking "OK".
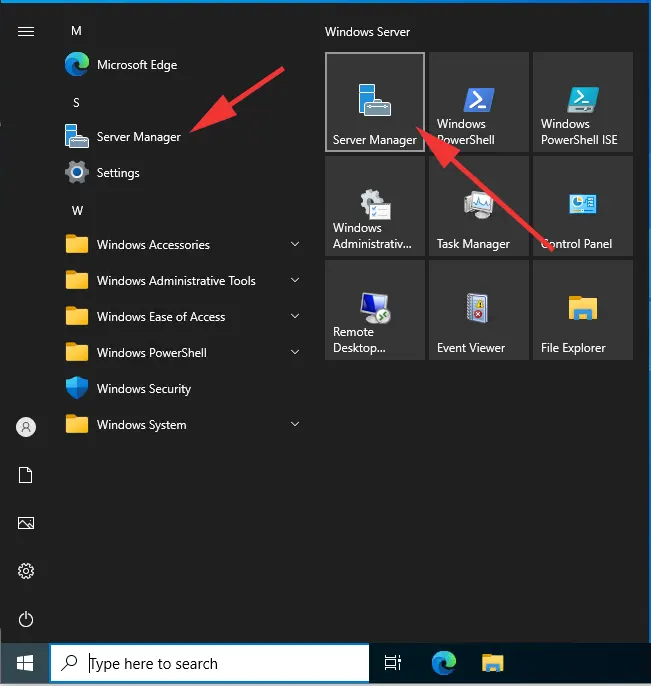
In order for the sound transmission from the remote desktop to your local computer to work properly, we need to install the remote desktop service. To do this, click on "Start" and open "Server Manager".
Click on "Manage" and select "Add Roles and Features" from the list.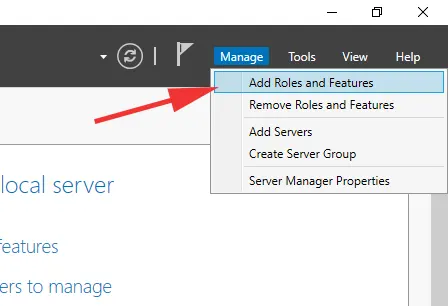
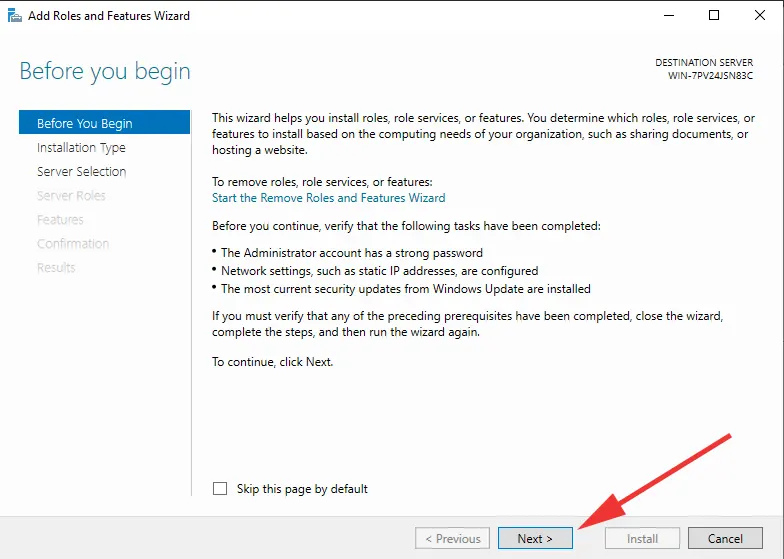
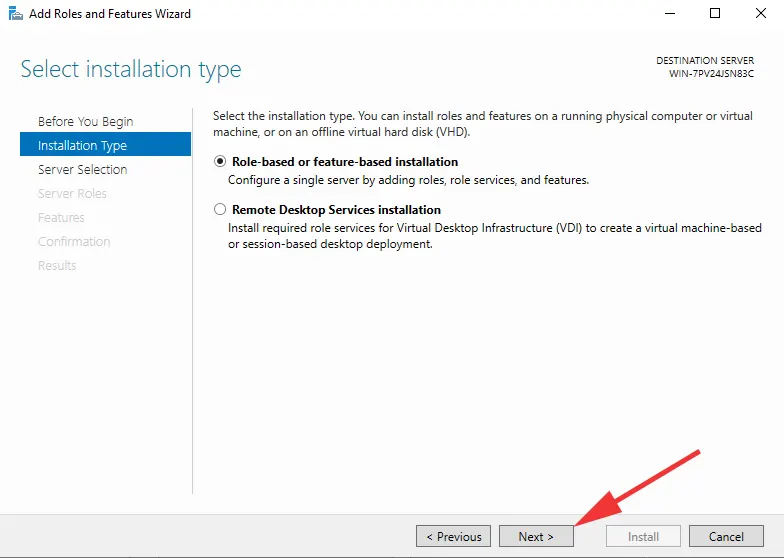
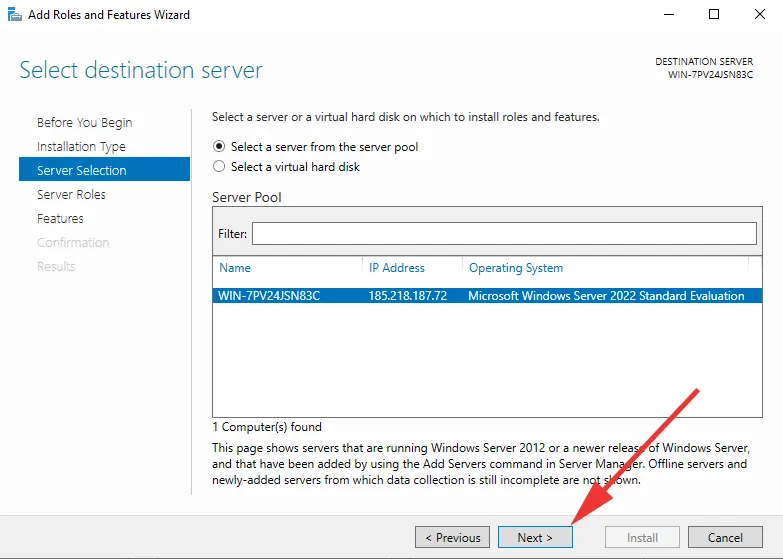
Follow the instructions
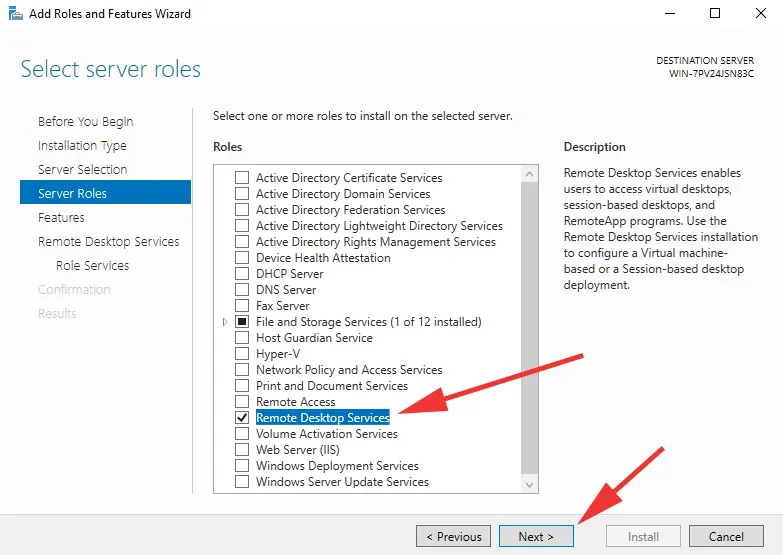
At this point, click on "Remote Desktop Services"
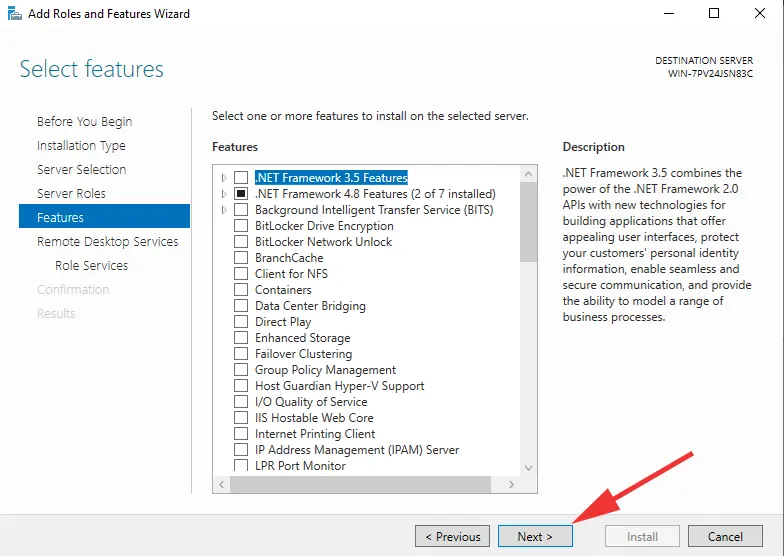
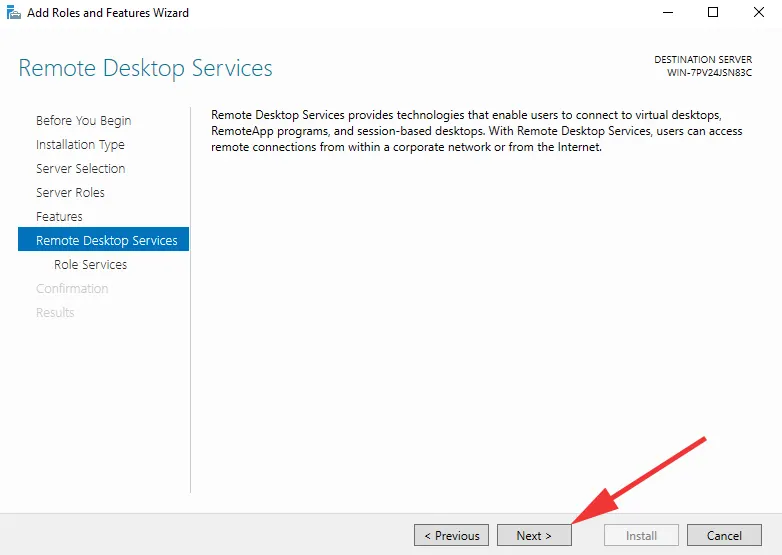
Follow the instructions
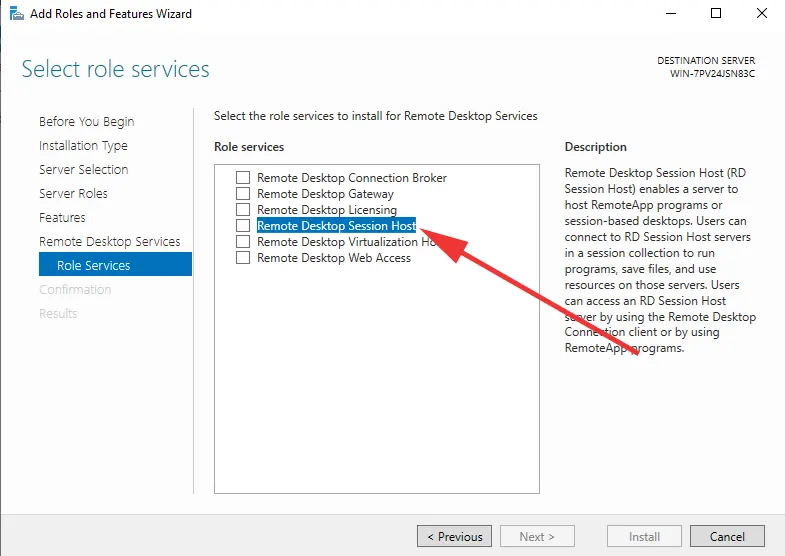
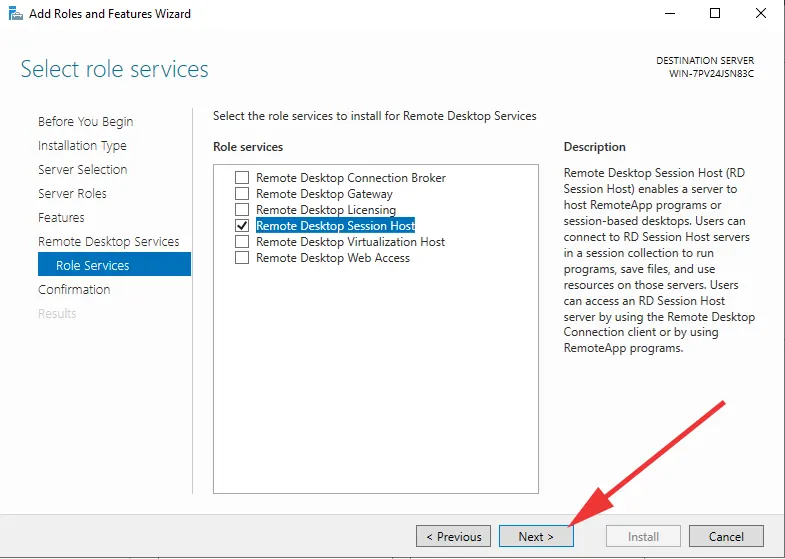
Click on "Remote Desktop Session Host"
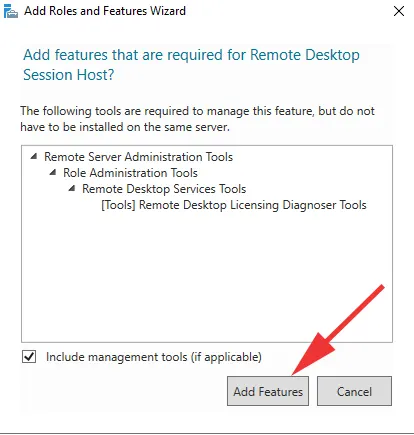
Click on “Add Features”
Click on “Next”
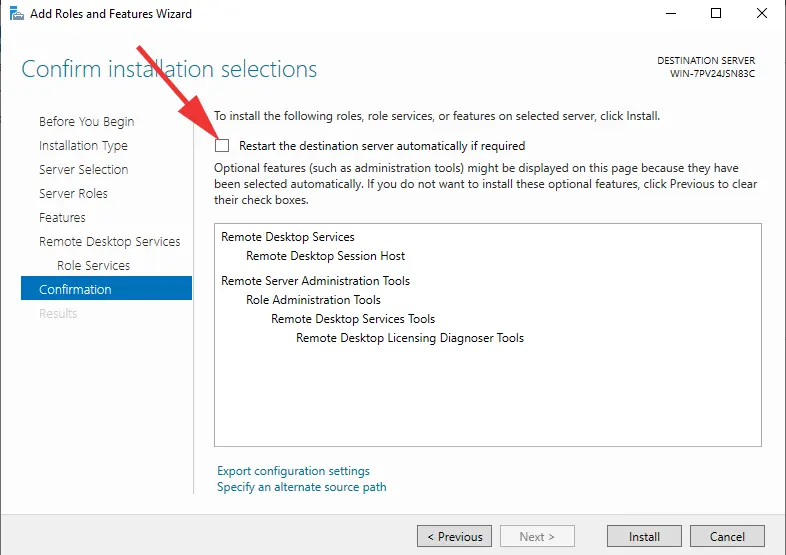
Mark to reboot the remote computer to install and apply the new settings
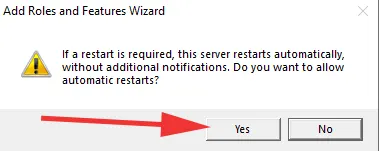
Confirm the reboot by clicking "Yes"
Start installing the service by clicking on "Install"
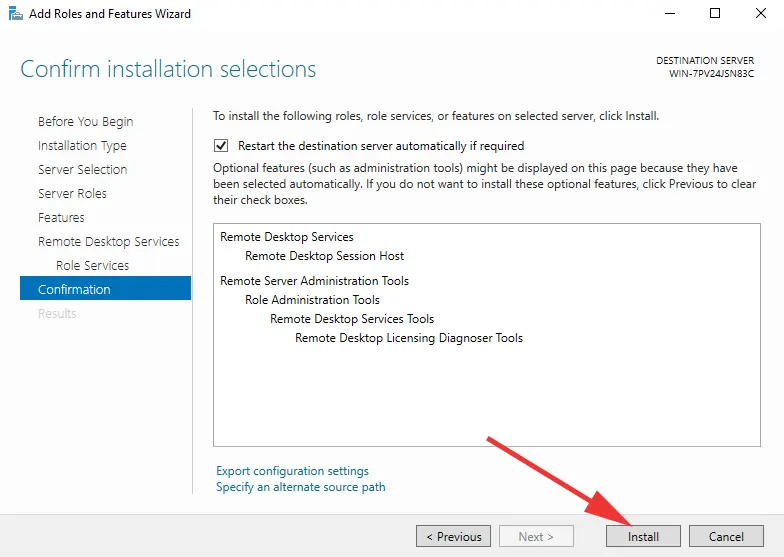
Installation process

In the process of installing the remote desktop service, your remote desktop will be rebooted several times.
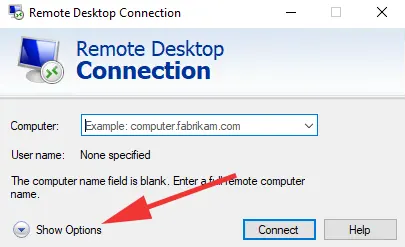
On the local computer from which you will connect to the remote desktop, in the rdp-client connection settings, you must enable microphone audio transmission to the remote desktop. To do this, open the program "Connection to Remote Desktop" and click on "Show Options".
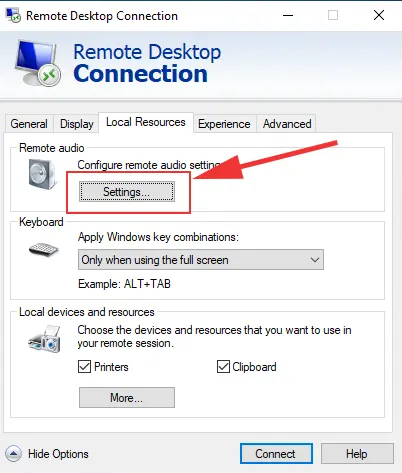
Go to the "Local Resources" tab and open the audio settings by clicking on "Settings"
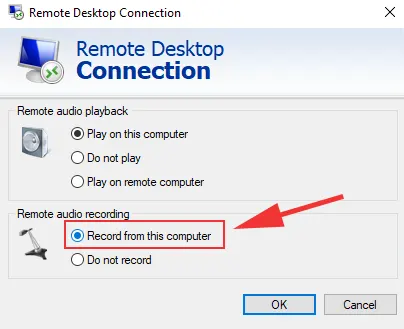
Switch "Remote audio recording" to "Record from this computer"
Now that the service has been successfully installed, we can connect to the remote desktop.
Click on the sound icon and go to Sounds.
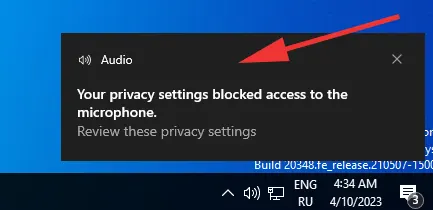
When you open the Audio Settings menu, you will be notified that the system is not configured to allow microphone operation for programs. Tap this notification.
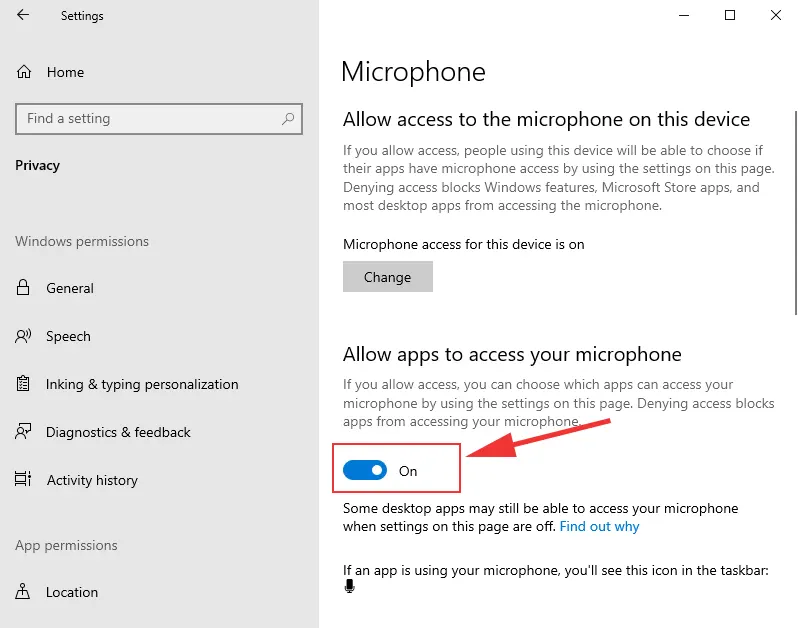
Allow access to the microphone by toggling the slider to "On" and close the Sound window.
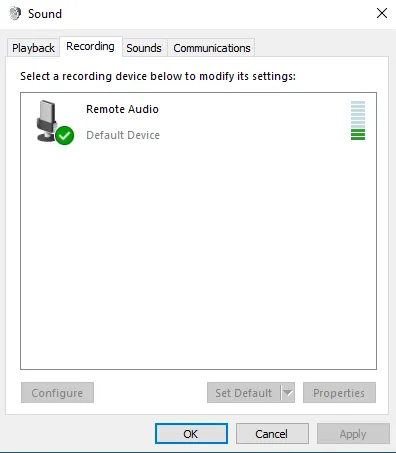
Open the sound settings again and now you should have a working microphone.
By performing these operations, you can easily and quickly turn on the microphone in rdp! And we want to remind you that all our remote desktop services support microphone operation and you can freely work with audio! https://prevps.com/vps-windows-with-android-emulator
